Introduction
Cryptocurrency offers financial freedom, but with freedom comes responsibility. Unlike traditional bank accounts, digital assets are entirely under your control. This means that securing them is critical. A hardware wallet like Trezor is one of the safest ways to protect your crypto from hacking, phishing, and malware attacks.
Trezor wallets are designed to store private keys offline, ensuring that your funds remain under your control at all times. The official setup page, Trezor.io/Start, walks new users through the process of initializing their wallet safely and confidently. This guide will take you step by step through the setup, usage, and security practices necessary to get the most out of your Trezor device.
Trezor hardware wallets, including the Model One and Model T, are built to protect cryptocurrency private keys offline. Unlike software wallets or exchanges, which are connected to the internet and vulnerable to cyberattacks, Trezor keeps keys isolated on a physical device.
Some key features include:
This combination of hardware and software security makes Trezor one of the most trusted wallets in the cryptocurrency space.
Before you begin, carefully check the packaging of your Trezor device. Ensure the box is sealed and untampered with. Inside, you will typically find:
If anything looks suspicious or damaged, do not use the device and contact Trezor support. Using a compromised wallet could put your crypto at risk.
The first step in the setup process is visiting the official page, Trezor.io/Start. This ensures you download authentic Trezor software and avoid phishing attempts.
Here’s what to do:
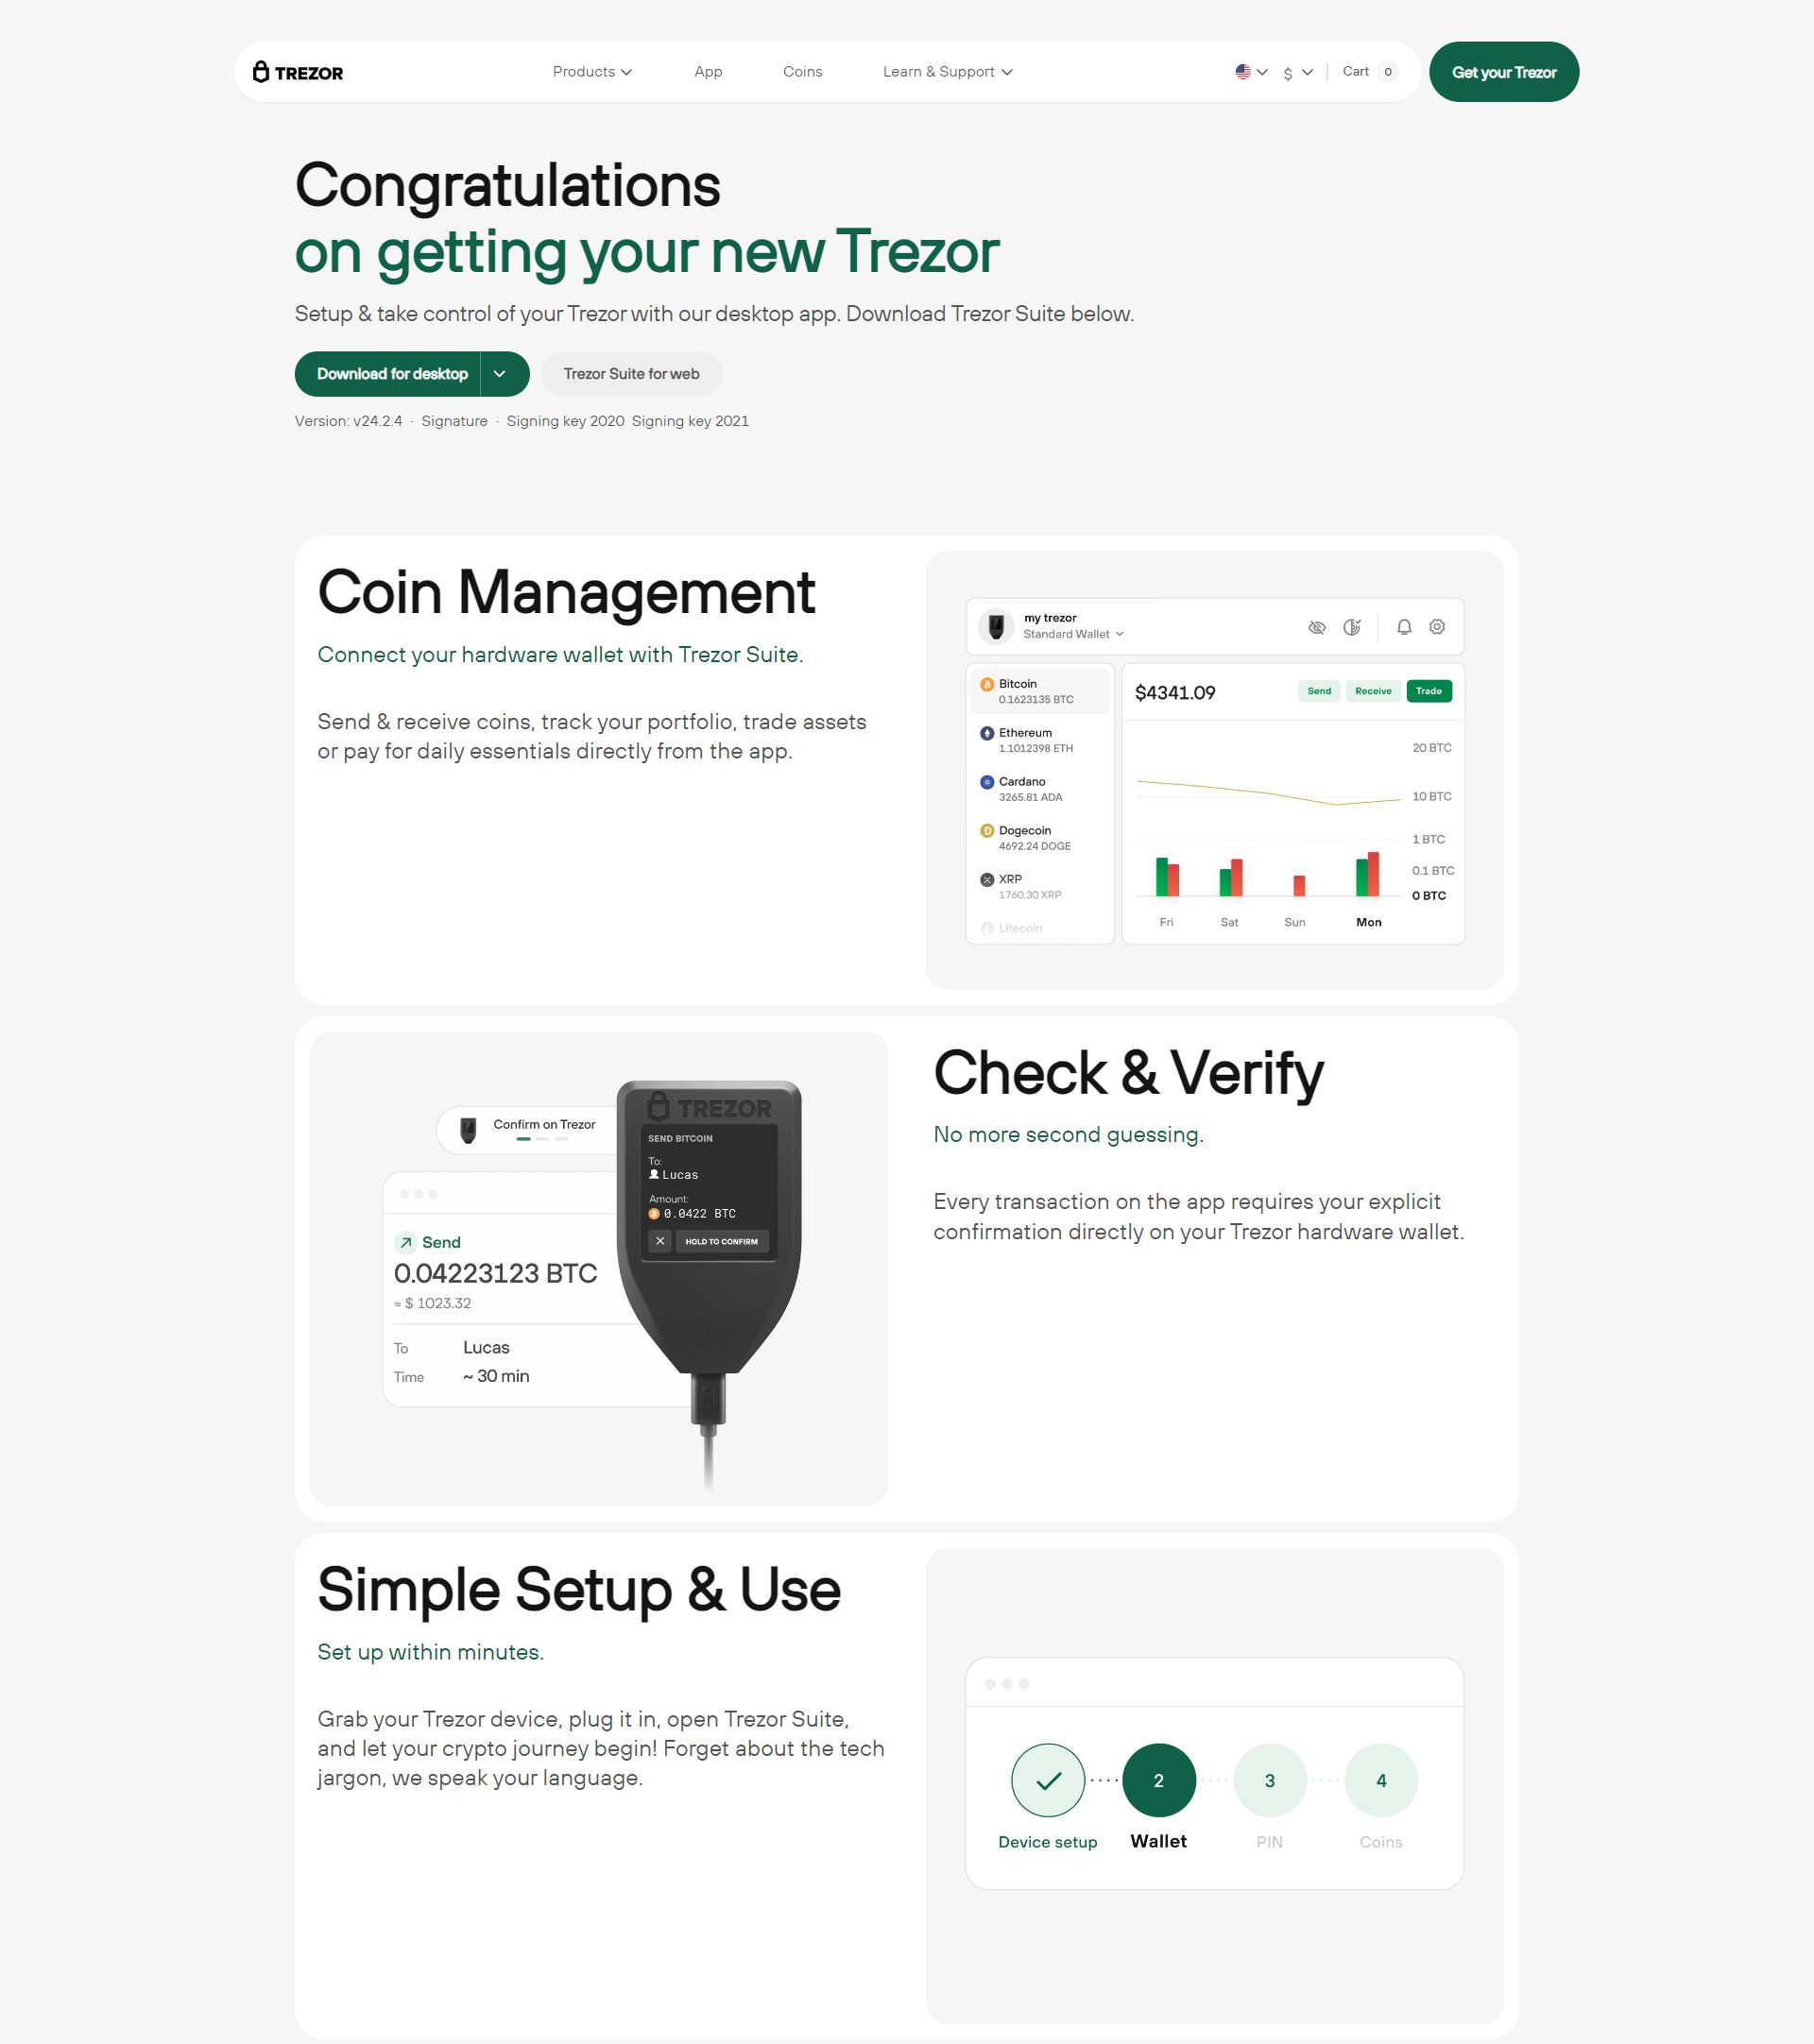
Trezor Suite provides a user-friendly interface for sending, receiving, and monitoring cryptocurrency while keeping sensitive data secure.
After connecting your device, Trezor Suite will guide you through initialization. New users should select Create a New Wallet.
During this process, you will:
The recovery seed is the most important aspect of your Trezor wallet. It is a randomly generated set of 12, 18, or 24 words that allows you to restore your wallet if your device is lost, stolen, or damaged.
Best practices for your recovery seed:
Your recovery seed is essentially the master key to your cryptocurrency—losing it can mean losing access to all your funds.
After recording the recovery seed, your Trezor device will prompt you to create a PIN. This adds a layer of security in case your device is lost or stolen.
With the PIN in place, your device is now protected against unauthorized physical access.
Once the wallet is set up, you can start adding cryptocurrencies via Trezor Suite. Trezor supports thousands of assets, including Bitcoin, Ethereum, Litecoin, Cardano, and many more.
Steps to add an account:
Each transaction must be confirmed on the physical device, ensuring that malware on your computer cannot steal your funds.
Receiving Funds:
Sending Funds:
By requiring physical confirmation, Trezor protects your crypto from remote hacks.
For users seeking extra protection, Trezor offers advanced security options:
These features add layers of defense against theft or accidental loss.
Following these steps ensures your crypto remains secure, even in the event of device theft or computer compromise.
Trezor provides one of the most secure and user-friendly solutions for cryptocurrency storage. By following the official setup guide at Trezor.io/Start, you can confidently initialize your wallet, protect your recovery seed, and manage digital assets with peace of mind.
With offline key storage, transaction verification on-device, and advanced security features, Trezor ensures that your funds are safe from hackers, malware, and accidental loss. Whether you are a beginner or an experienced investor, Trezor makes safeguarding your cryptocurrency simple and reliable.
Your journey to secure crypto storage starts today—visit Trezor.io/Start and take control of your digital assets.